Preparation
In order to deploy namviek to Vercel and Render we need to prepare accounts on the following services
- Redis - for caching
- Mongodb Atlas - for database
- Github Account - store the codebase
- Firestore - for Gmail authentication
- Vercel - for frontend
- Render - for backend
Deployment process
The deployment progress will implemented in 5 steps. That's a lot of steps for a deployment tasks I know. However, you need no coding skills for these step. Just copy and paste some configurations and follows exactly what I do.
1. Create Redis database
So, the first thing we need to do is that create Redis database. Please go to use Redis cloud section and follow my instruction. The result of this step is you must to get the redis connection string as follow
REDIS_HOST=redis://default:ck7VLUkNQ*************GWeD@redis-18732.a293.ap-southeast-1-1.ec2.redns.redis-cloud.com:11077
2. Create database on Mongodb Atlas
Next, navigate to Mongodb Atlas and create your own database as the following instruction. After completing this process you will obtain the mongodb connection string in the following format.
MONGODB_URL=mongodb+srv://{user}:{pwd}@cluster0.weszq.mongodb.net/{dbName}?retryWrites=true&w=majority
If you want to secure your connection by restricting a specified Ip address, please visit MongoDb Network Access
3. Deploy backend to Render
Now, it's time to deploy backend to Render. Open a new tab and visit Render.com. Sign up a new account and just leave it. Go to my repo and click on the Deploy to Render button.
You will be redirect to the deployment page as following. Fill your Blueprint Name and environment variables.
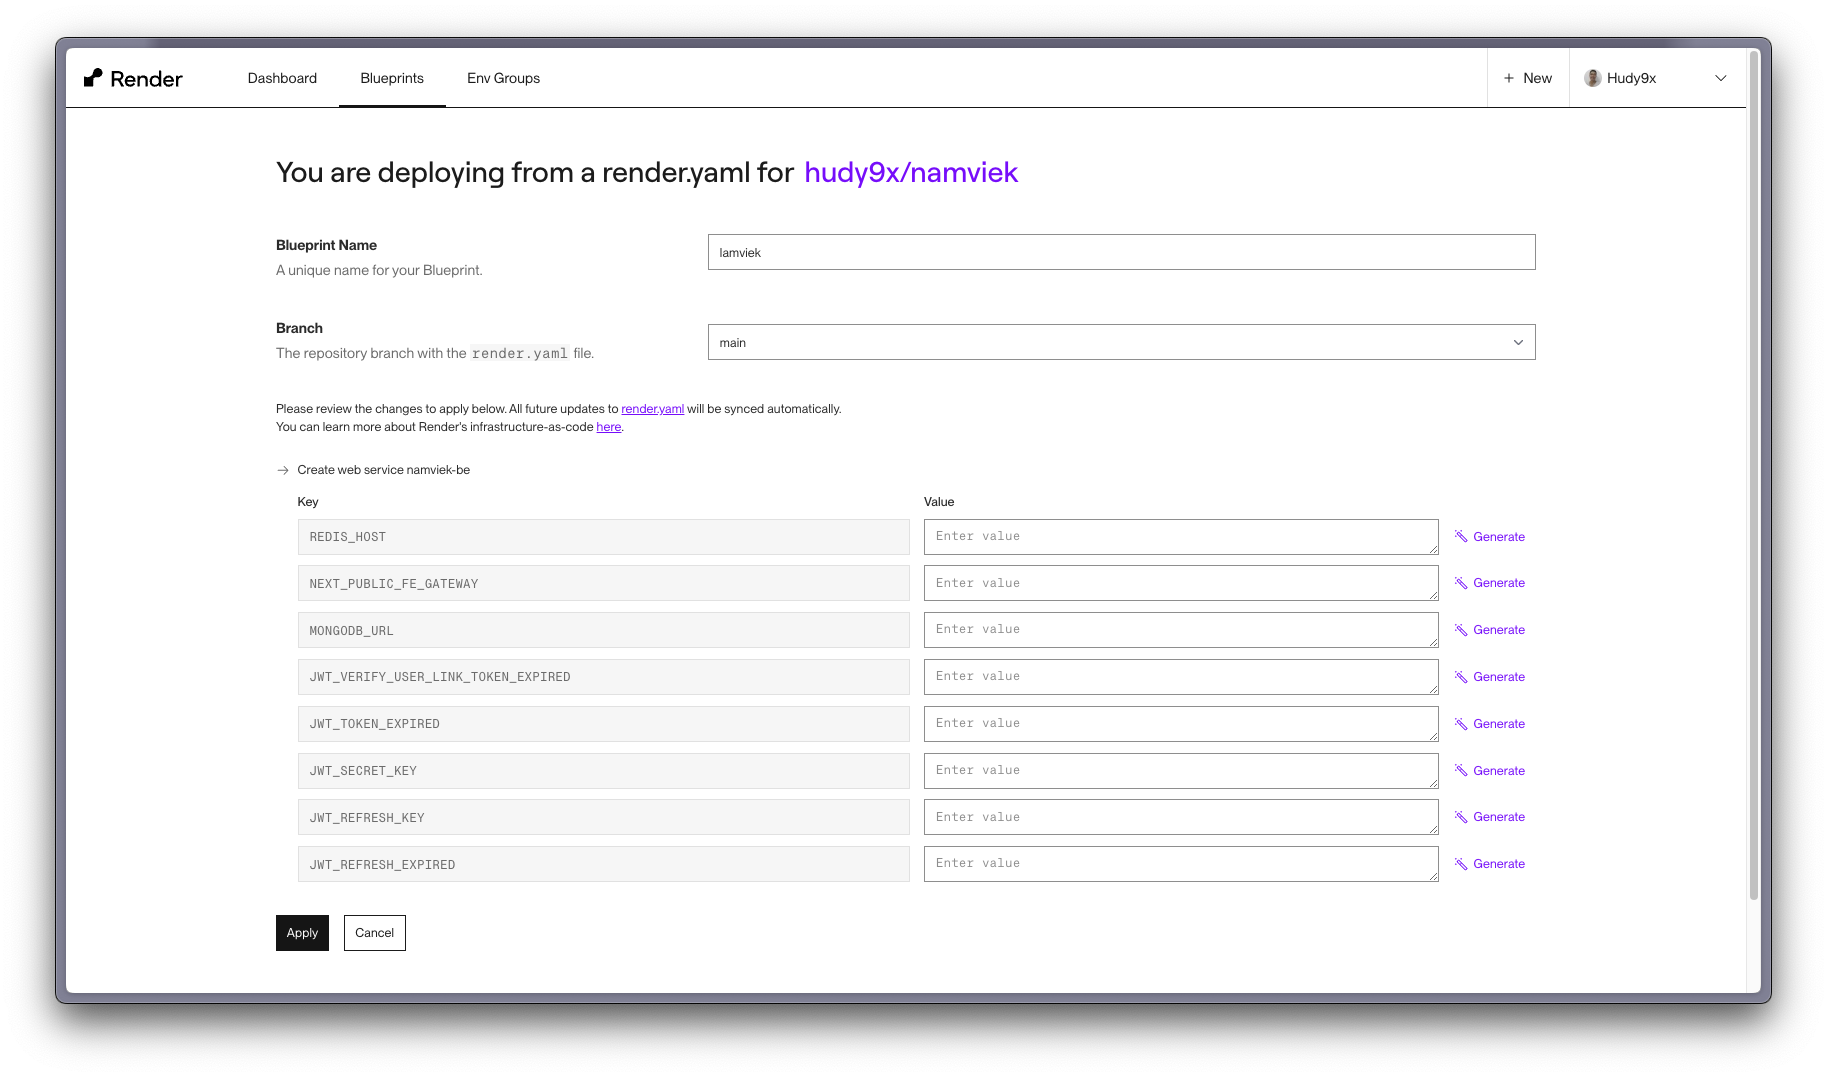
The env values should be like the below example.
JWT_REFRESH_KEY=287kjshkjshdf
JWT_SECRET_KEY=12981KJ1H23KJH

JWT_REFRESH_EXPIRED=4h
JWT_TOKEN_EXPIRED=30m
JWT_VERIFY_USER_LINK_TOKEN_EXPIRED=1h

NEXT_PUBLIC_FE_GATEWAY=https://test/v2/234234/clusters

MONGODB_URL=mongodb+srv://<user>:<pass>@cluster0.bswhjt.mongodb.net/demodb?retryWrites=true&w=majority
REDIS_HOST=redis://<user>:<pass>@redis-48362.c345.ap-southeast-1-1.ec2.redns.redis-cloud.com:19729
MONGODB_URLandREDIS_HOSTare important variables. So please input them exactly. The others are up to you.
Click on the Apply button to start deploying.
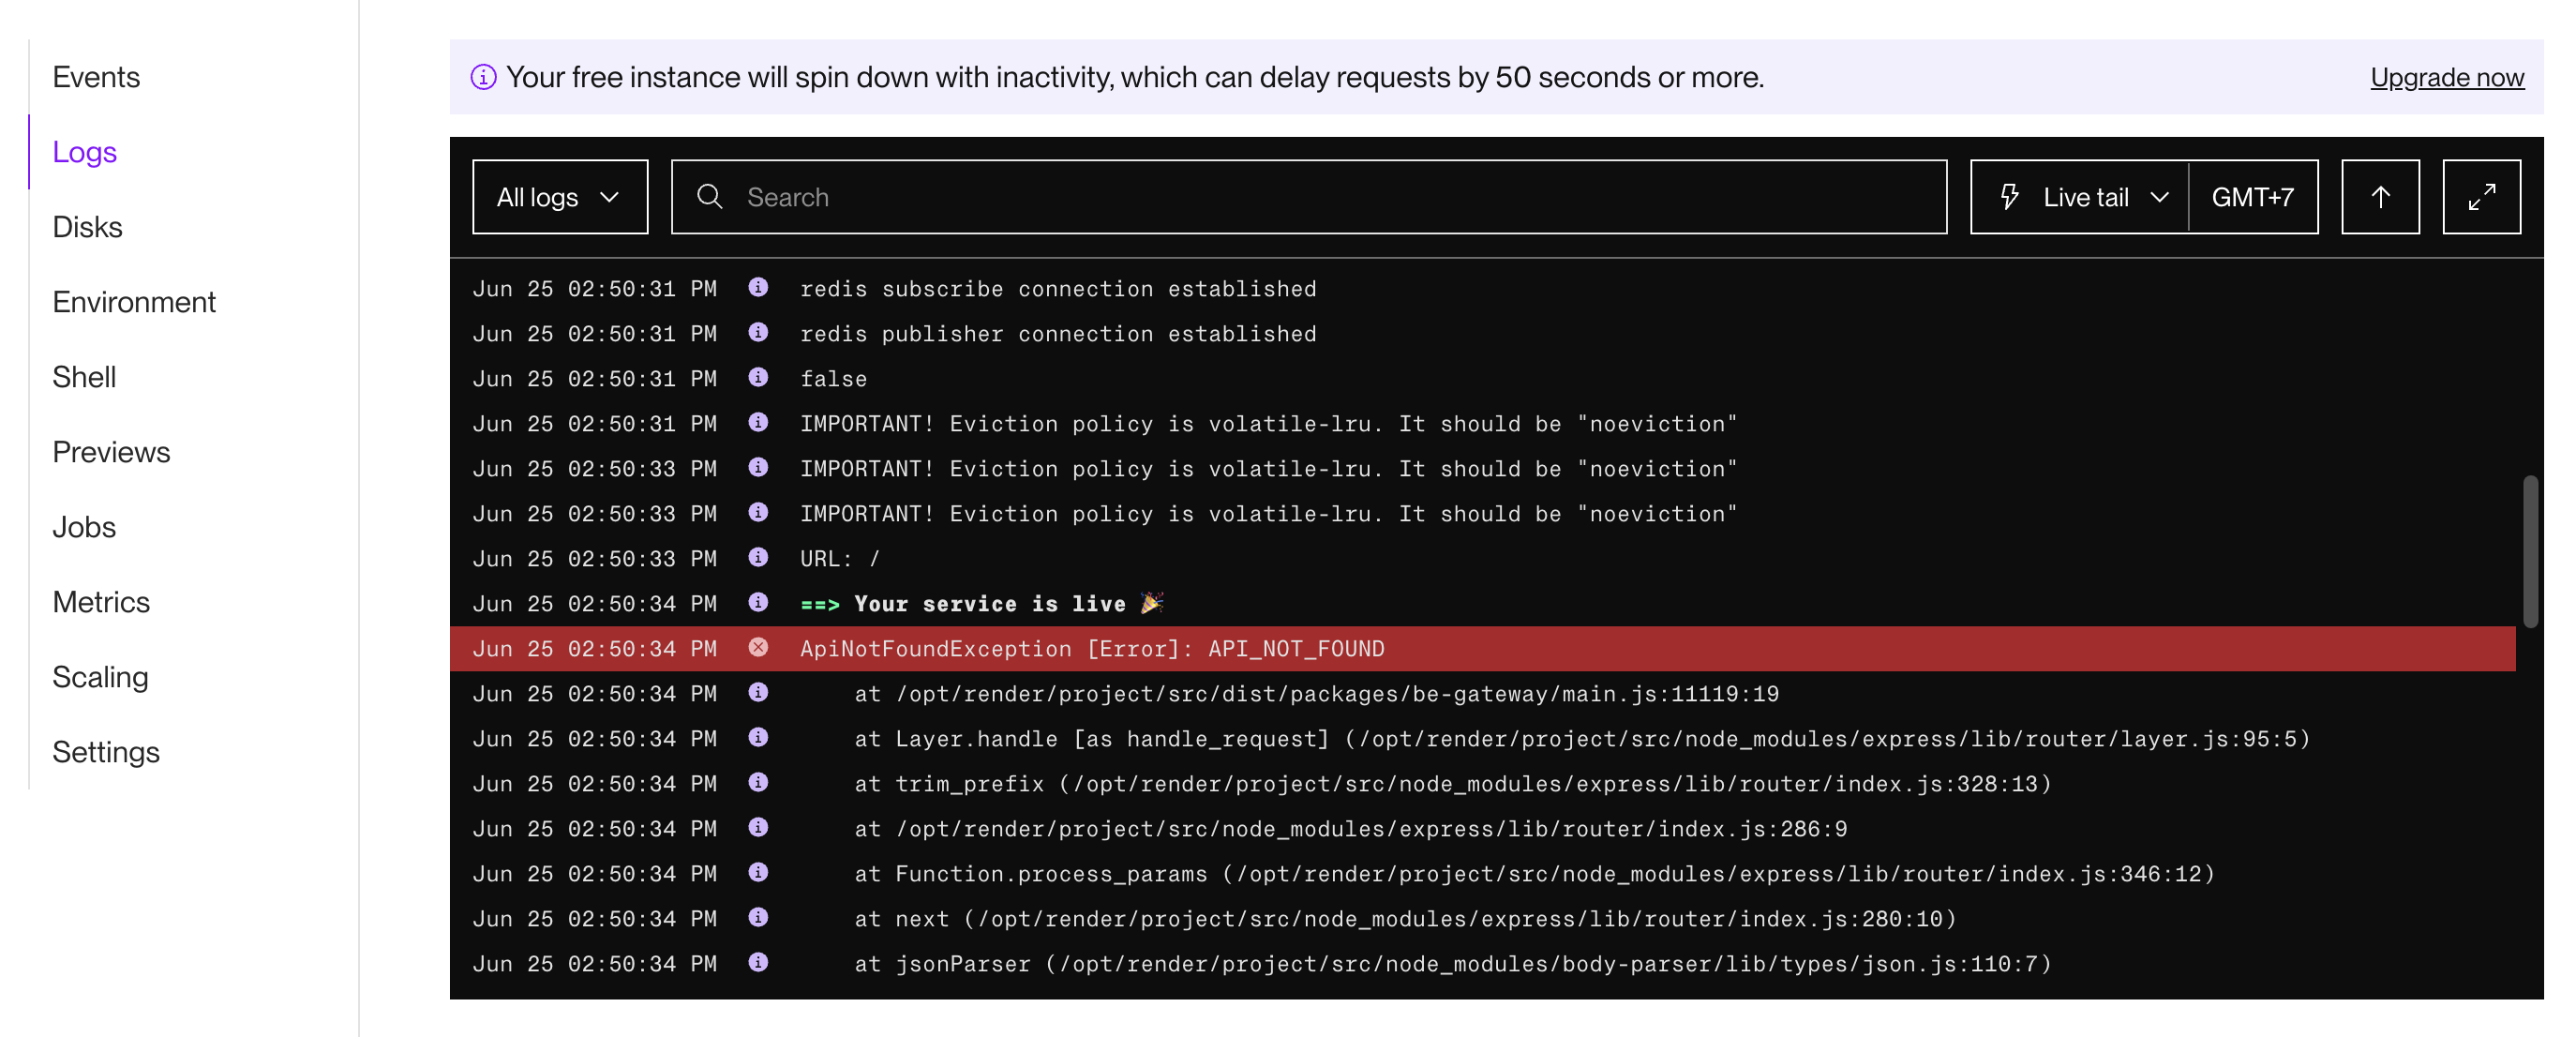
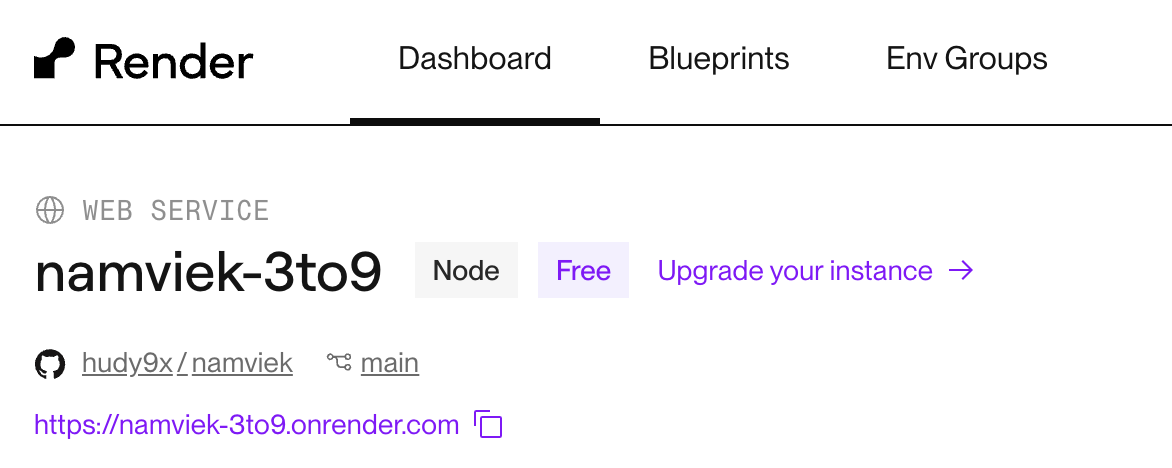
Wait for Render deploy the app. If nothing wrong the output should look like below. Don't worry about the red line through
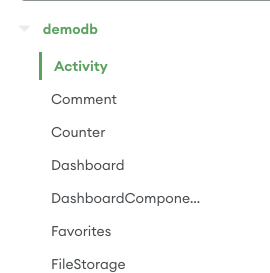
Verify Render deployment process
Right after Render finishs the deployment process we have to verify it whether success or not. Head to Mongodb Atlas > Database > Cluster > Collections. And find your database that you've created earlier. If you see a list of collections as the image below then congrats you succeeded.
4. Deploy frontend to Vercel
Well, the last thing to run namviek is to deploy the frontend to Vercel. This will be quick i promise :D.
Open your browser and go to my repo and click on the Vercel deploy button. It will navigate you to the deploy page. Give it a name and press Create button. Then fill environment variables and press Deploy button.
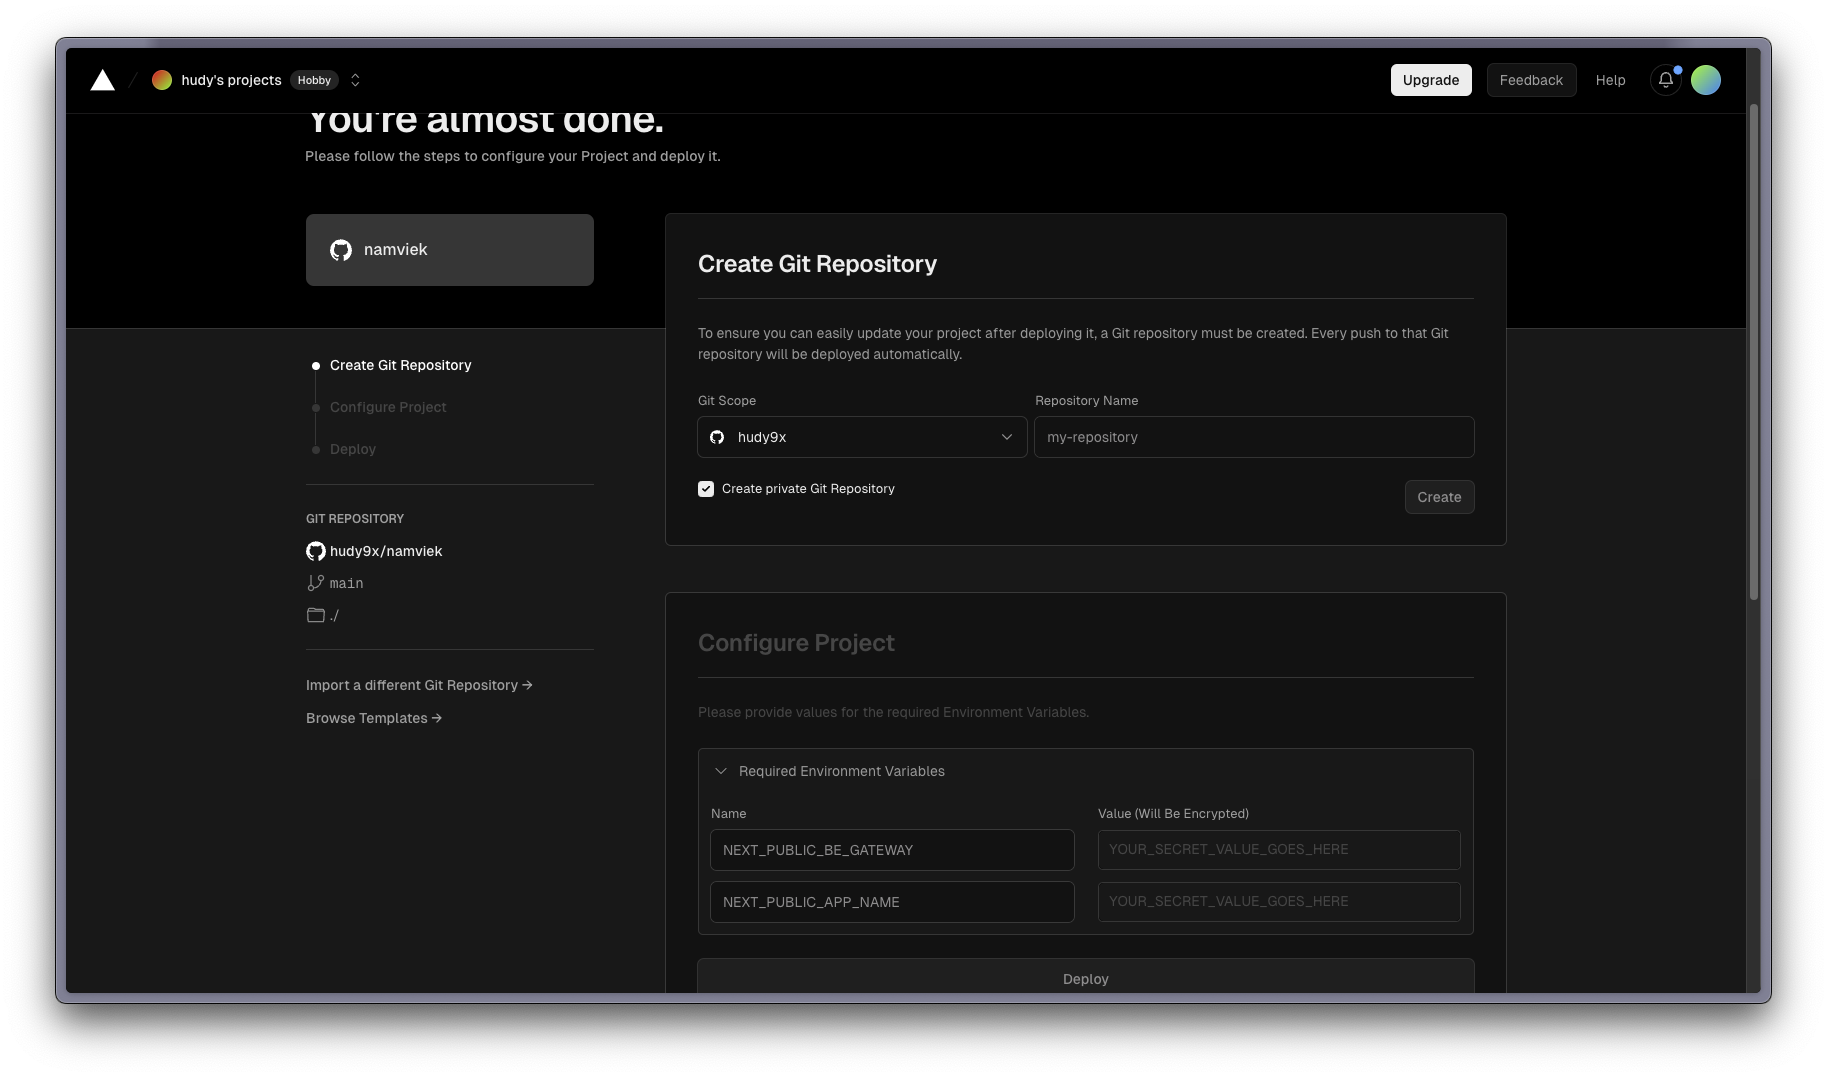
If you don't find the NEXT_PUBLIC_BE_GATEWAY please go to Render.com and navigate to service's setting. You'll see the domain
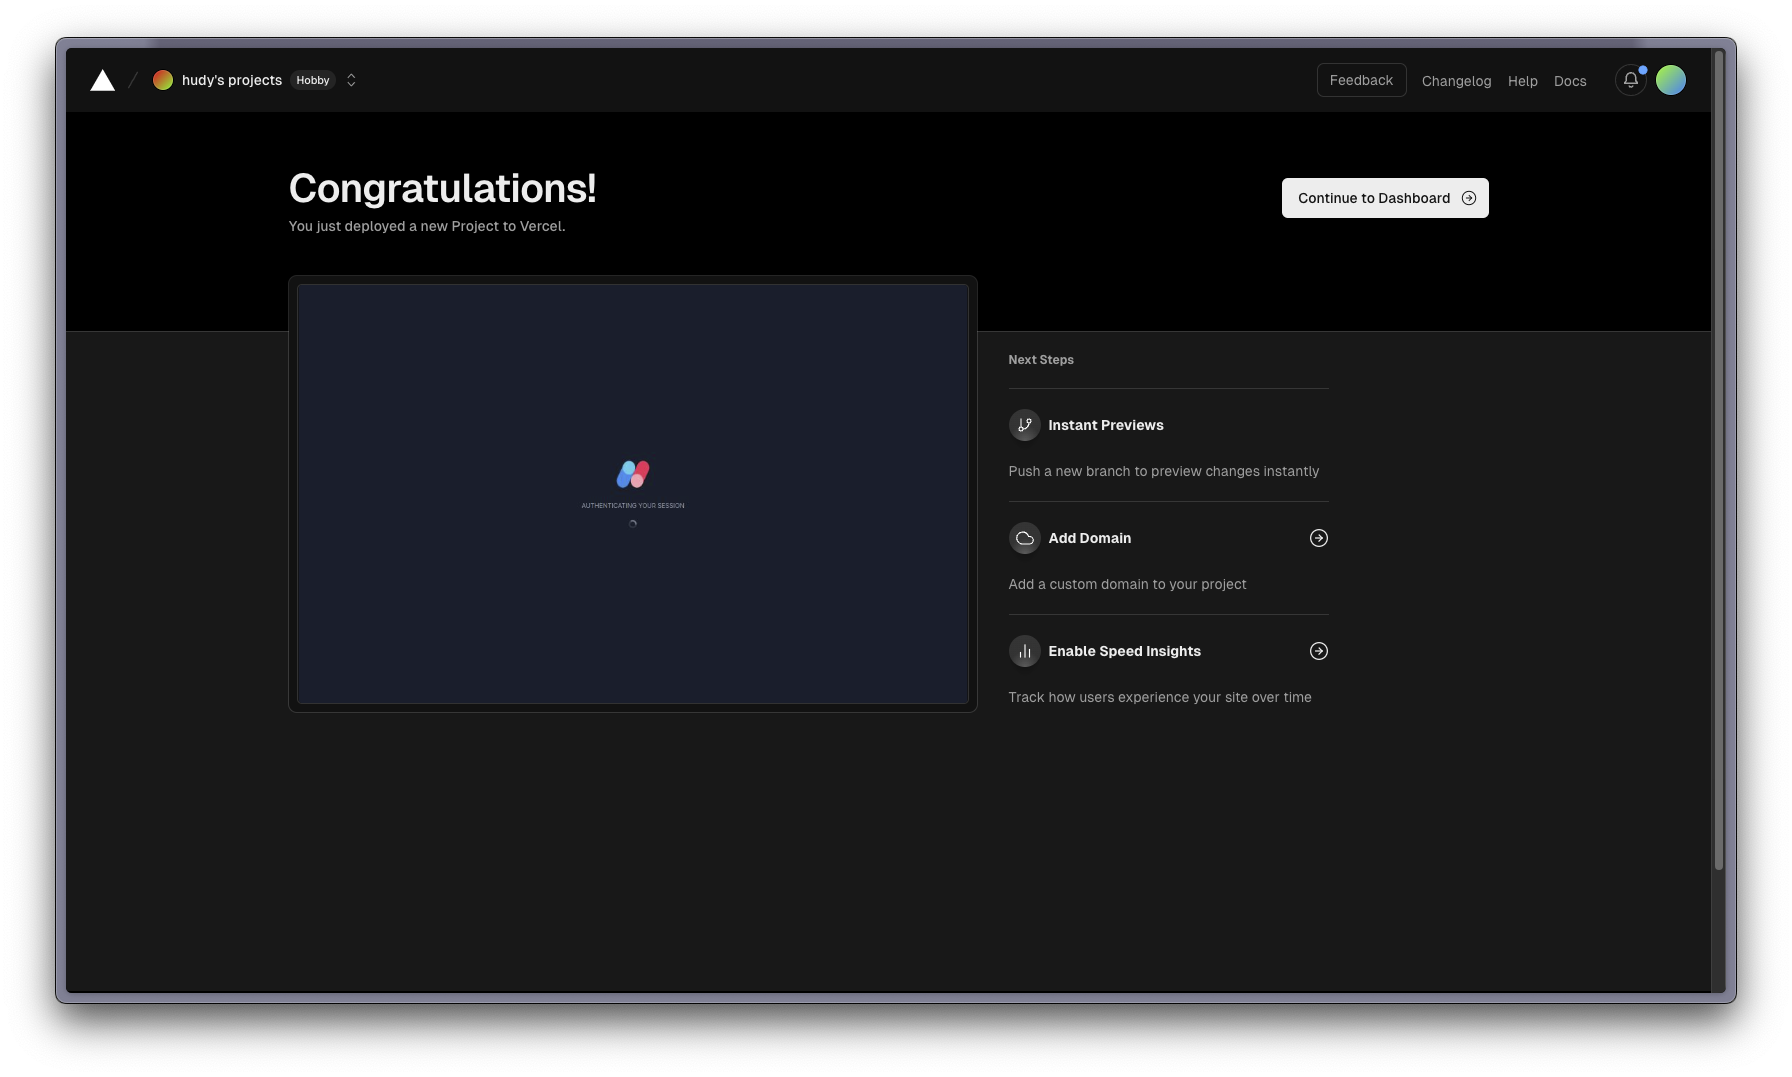
At last, if you're lucky the below screen will be displayed that means the deployment is success. LOL
5. Integrate Gmail authentication
Follow my instruction here to integrate Gmail authentication