Firebase is a free platform and it has a lot of helpful services. One of these is Authentication, it provides a quick and easy setup guide for Gmail authentication.
This will guide you to create a Firebase project and integrate Gmail authentication service.
Create Firebase project
Go to Firebase Console to create your own project with any name you want. Then it will generate a configuration object.
Important: Firebase generates the configuration with single quotes and without quotes around the keys. You'll need to:
- Convert it to valid JSON format (add quotes around the keys)
- Convert the JSON object to a single line
- Add it to your environment variables (
.envfile)
For example, Firebase gives you:
{
  apiKey: "-------",
  authDomain: "-------",
  // ... other config
}
You need to convert it to:
{
  "apiKey": "-------",
  "authDomain": "-------",
  // ... other config
}
And then convert it to a single line before adding to your .env file:
NEXT_PUBLIC_FIREBASE_CLIENT_CONFIG={"apiKey":"-------","authDomain":"namviek-------.firebaseapp.com","projectId":"namviek------","storageBucket":"namviek-------.appspot.com","messagingSenderId":"9283918273987","appId":"1:109283098098:web:91jh23iuh123879kjh","measurementId":"G-89OIWOIEJR"}
Make sure to replace the values with your actual Firebase configuration. The application will automatically use these environment variables to initialize Firebase.
Firebase Admin Configuration
Namviek's verify access token by itself and it use Firebase only for verifying Gmail account is correct or not. So you have to generate serviceAccount key for this process.
Go to Firebase Console again and redirect to Project settings > Service accounts. Choose your SDK and press Generate new private key button.
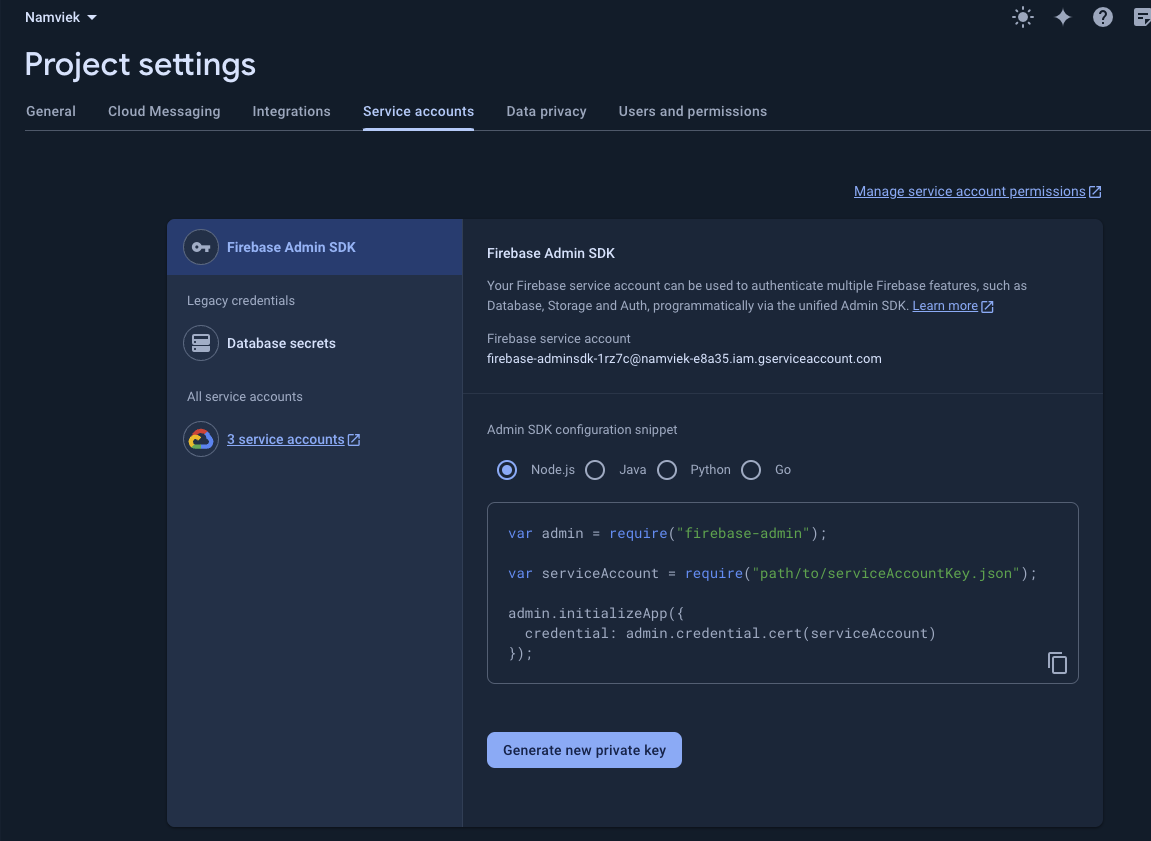
After the download successfully, open your .env file and add/update these variables
FIREBASE_PROJECT_ID=<project-id>
FIREBASE_CLIENT_EMAIL=<client-email>
FIREBASE_PRIVATE_KEY=<private-key>
Lastly, restart the backend.