Prerequisites
In order to install the app you need to prepare somethings as follow:
- MongoDB Atlas
- Redis
- Node v20.9.0 or later
- Npm v10.1.0 or later
- Yarn v1.22.19 (not working for v2 or later, currently)
- Nx v12.2.0
Setup and run
Clone app and install packages
Firstly, let's clone the source code from github. Open terminal and run the below commands.
$ git clone git@github.com:hudy9x/namviek.git
$ cd namviek
Next, install packages and nx.
$ yarn install
$ yarn global add nx@latest // or nx@^12.2.0
Start Redis server
Make sure that your Redis is running. Redis is used for caching data so you can not run the app without it. Try to ping it as follow.
$ redis-cli
127.0.0.1:6379> ping
PONG
127.0.0.1:6379>
If you don't have Redis you can install it using WSL (for Windows user), Brew (for Mac user). But, if you're running Ubuntu like me, visit this installation guide.
Don't want to install Redis ? you can use Redis.io instead. Check out this guide
Create MongoDB Atlas database
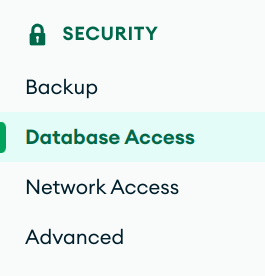
Sign in MongoDB Atlas and create your own database. Remember to select your nearst region and redirect to Database Access area to create an user that access to the above database.
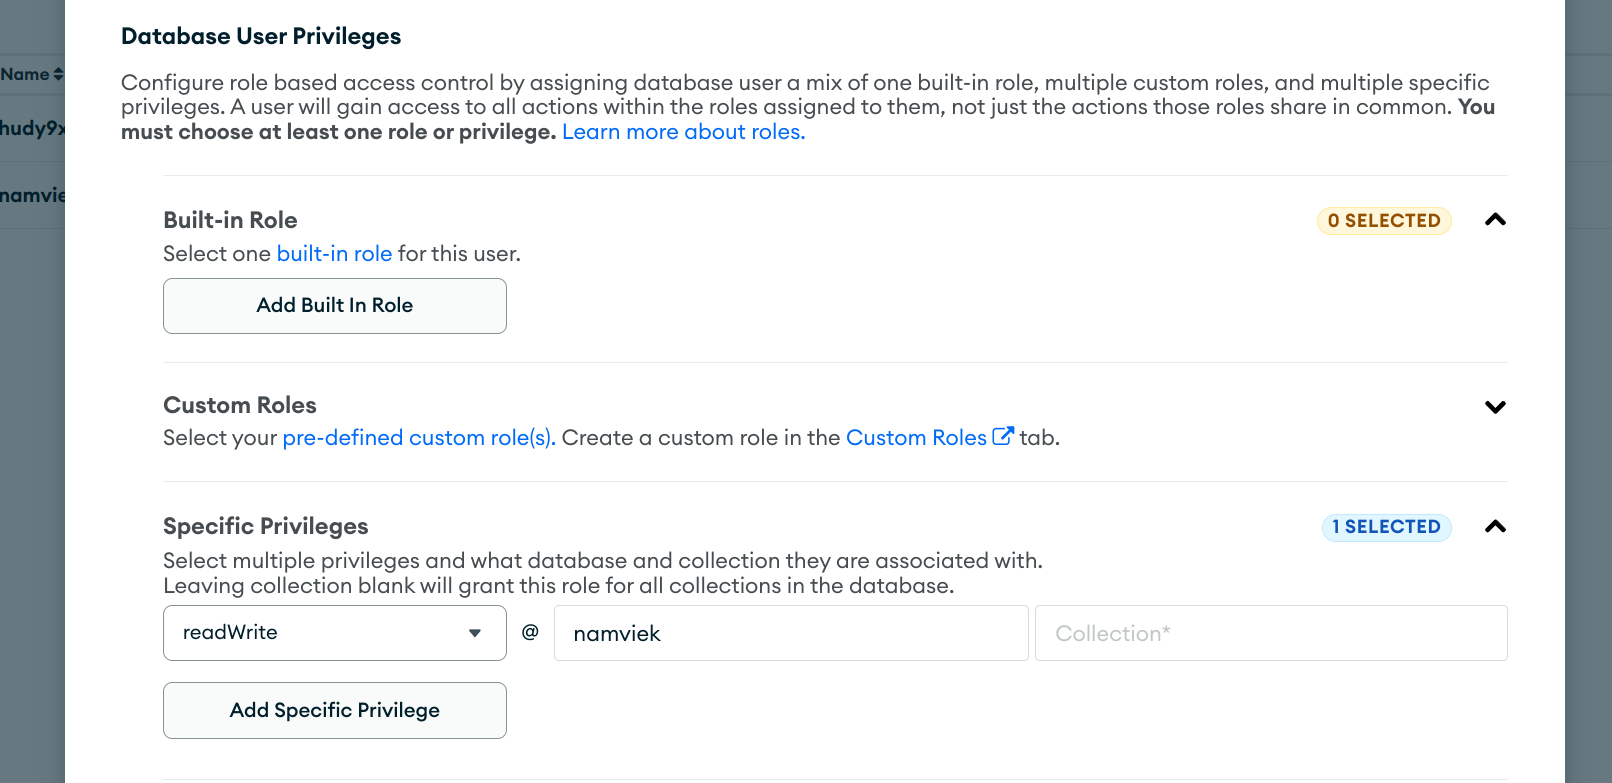
Create a new user with any name as you want and grant readWrite privilege to it. As the below image, I assigned readWrite to namviek database.
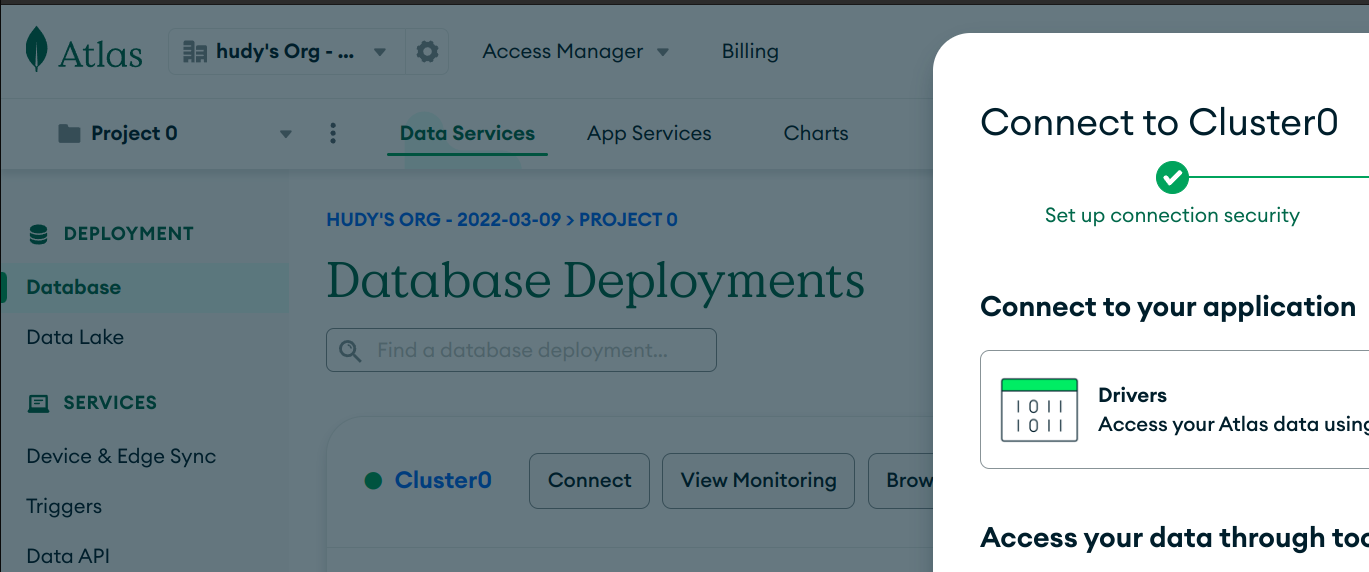
Now, back to Database section to get the database uri by clicking on Connect then it will open the dialog as follow. Click on Drivers and look at Step 3 you'll see your uri. Save it for the next step.
Last thing to connect with Mongodb Atlas that you must allow your IP or backend's IP to access with it. Go to Network Access and add your IP or backend's IP to it.
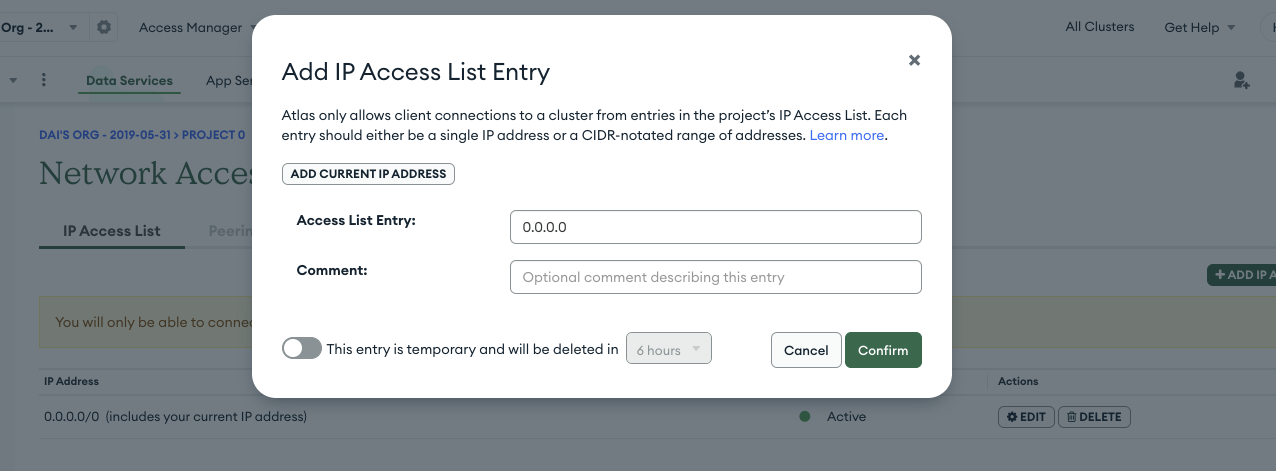
If you just want to test for now, just input
0.0.0.0to tell MongoDB accept any ip address.
Configure .env
Create your own .env file by copying .env.example and rename it. Or you can also create an empty one and paste these required configs. Mine is .env
// .env
NEXT_PUBLIC_FE_GATEWAY=http://localhost:4200/
NEXT_PUBLIC_BE_GATEWAY=http://localhost:3333/
NEXT_PUBLIC_APP_NAME=Namviek Dev
MONGODB_URL=mongodb+srv://{user}:{pwd}@cluster0.weszq.mongodb.net/{dbName}?retryWrites=true&w=majority
JWT_SECRET_KEY=12981KJ1H23KJH
JWT_REFRESH_KEY=287kjshkjshdf
JWT_VERIFY_USER_LINK_TOKEN_EXPIRED=1h
JWT_TOKEN_EXPIRED=30m
JWT_REFRESH_EXPIRED=4h
REDIS_HOST=
Visit here to view all environment configuration.
If your Redis server is running locally, you can leave it blank as above. Go back above section to get your
MONGODB_URL
Generate prisma schema
At this moment .env is ready, you need to generate the schema and push it to database. Open terminal and run these commands.
$ yarn generate // for window user
$ yarn generate2 // for linux or mac user
$ yarn prisma db push --schema=./packages/shared-models/src/prisma/schema.prisma
Run it
Lastly, open your terminal again and run the app.
$ yarn frontend
$ yarn backend
Open the app now: http://localhost:4200